You are not logged in.
Yermo
last year
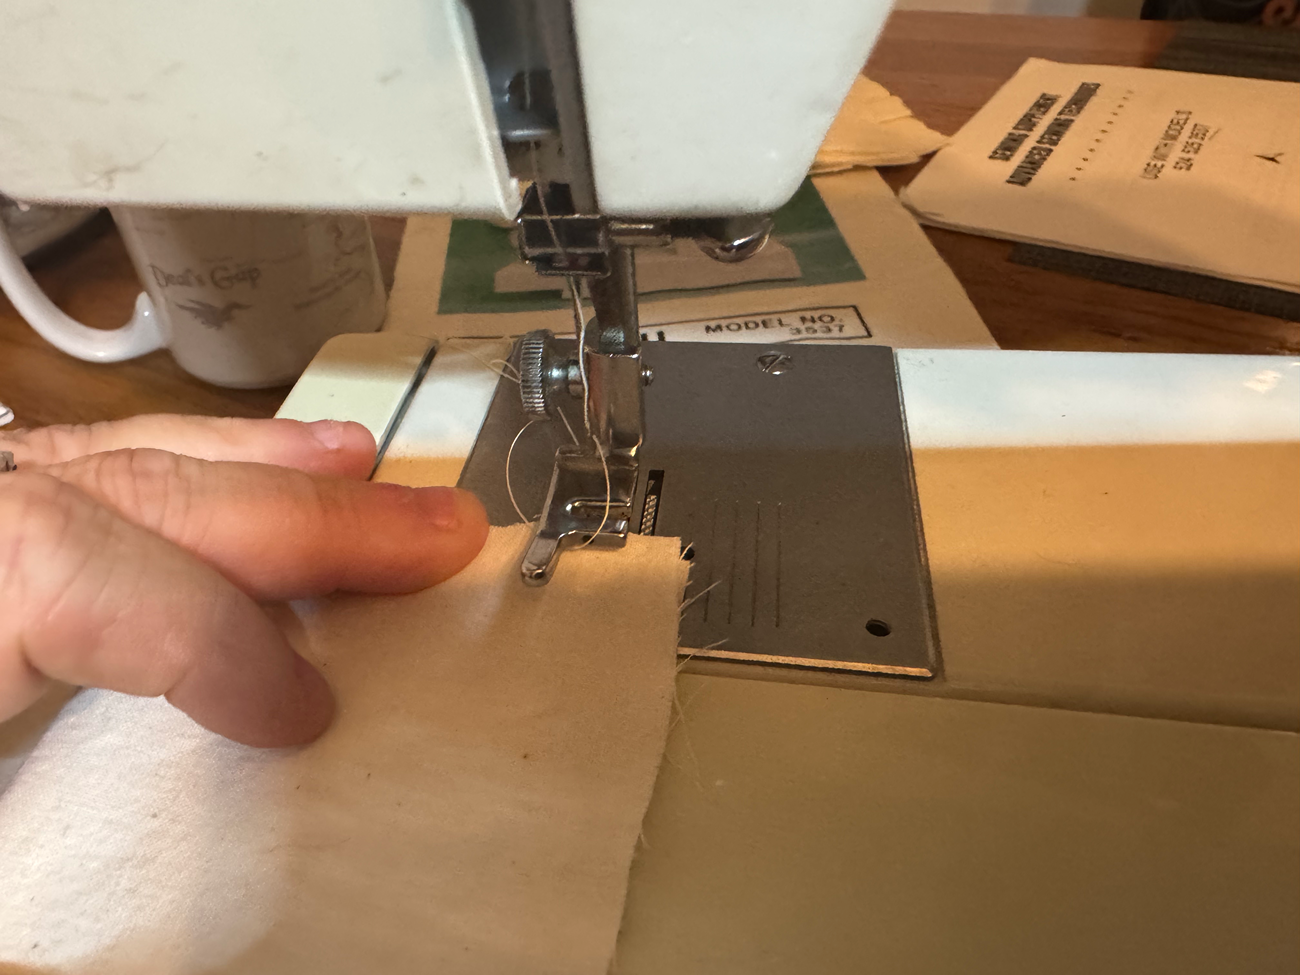
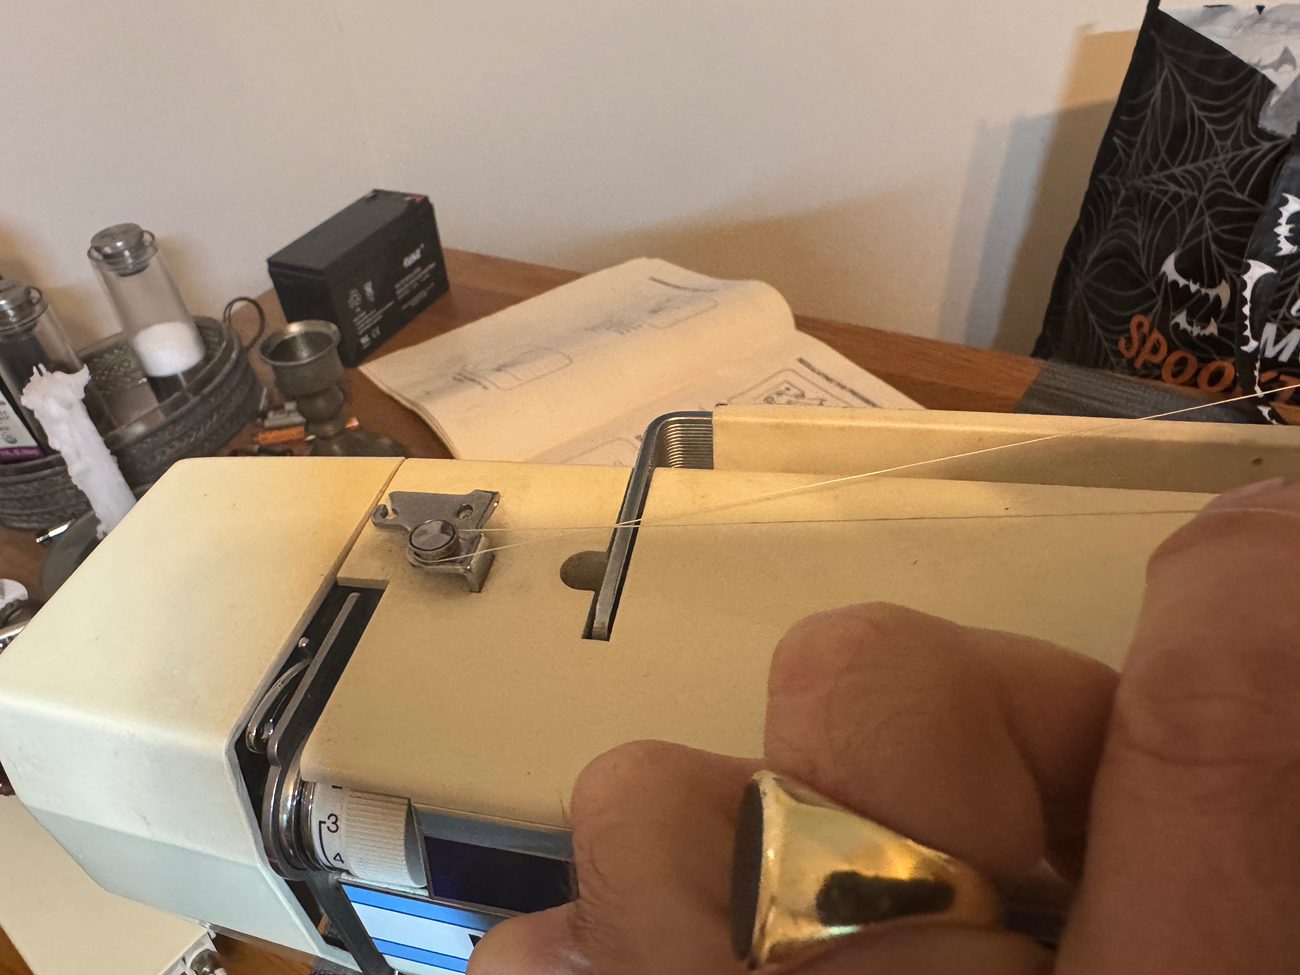
Generic foot. Top thread needs to go through the slit as shown. Bottom thread stays below.
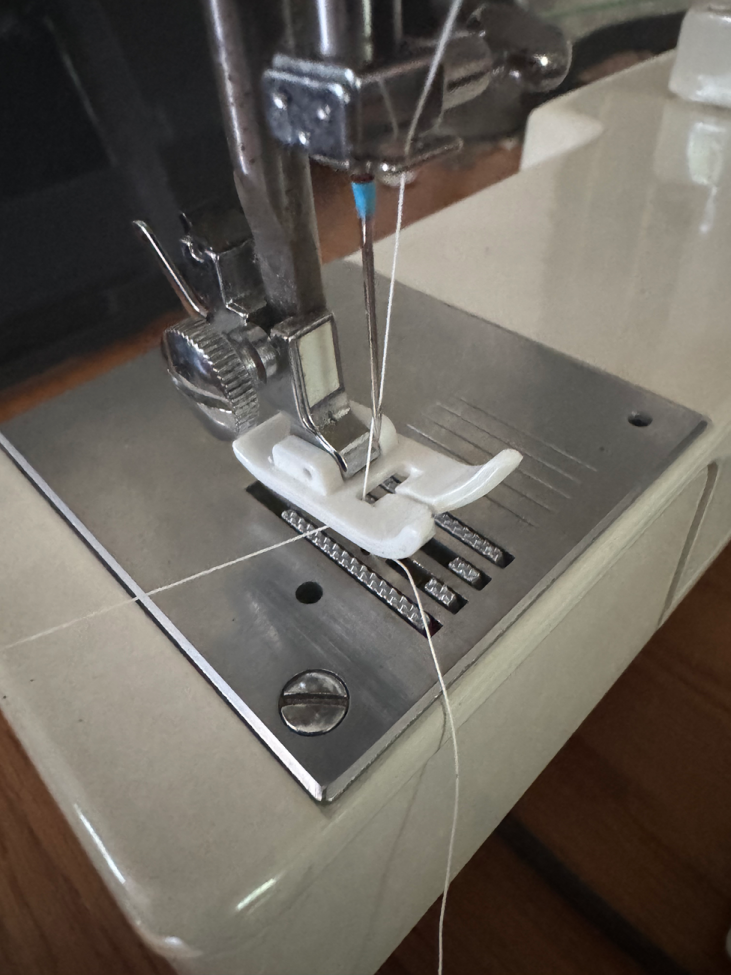
Generic foot. Top thread needs to go through the slit as shown. Bottom thread stays below.
Yermo
last year
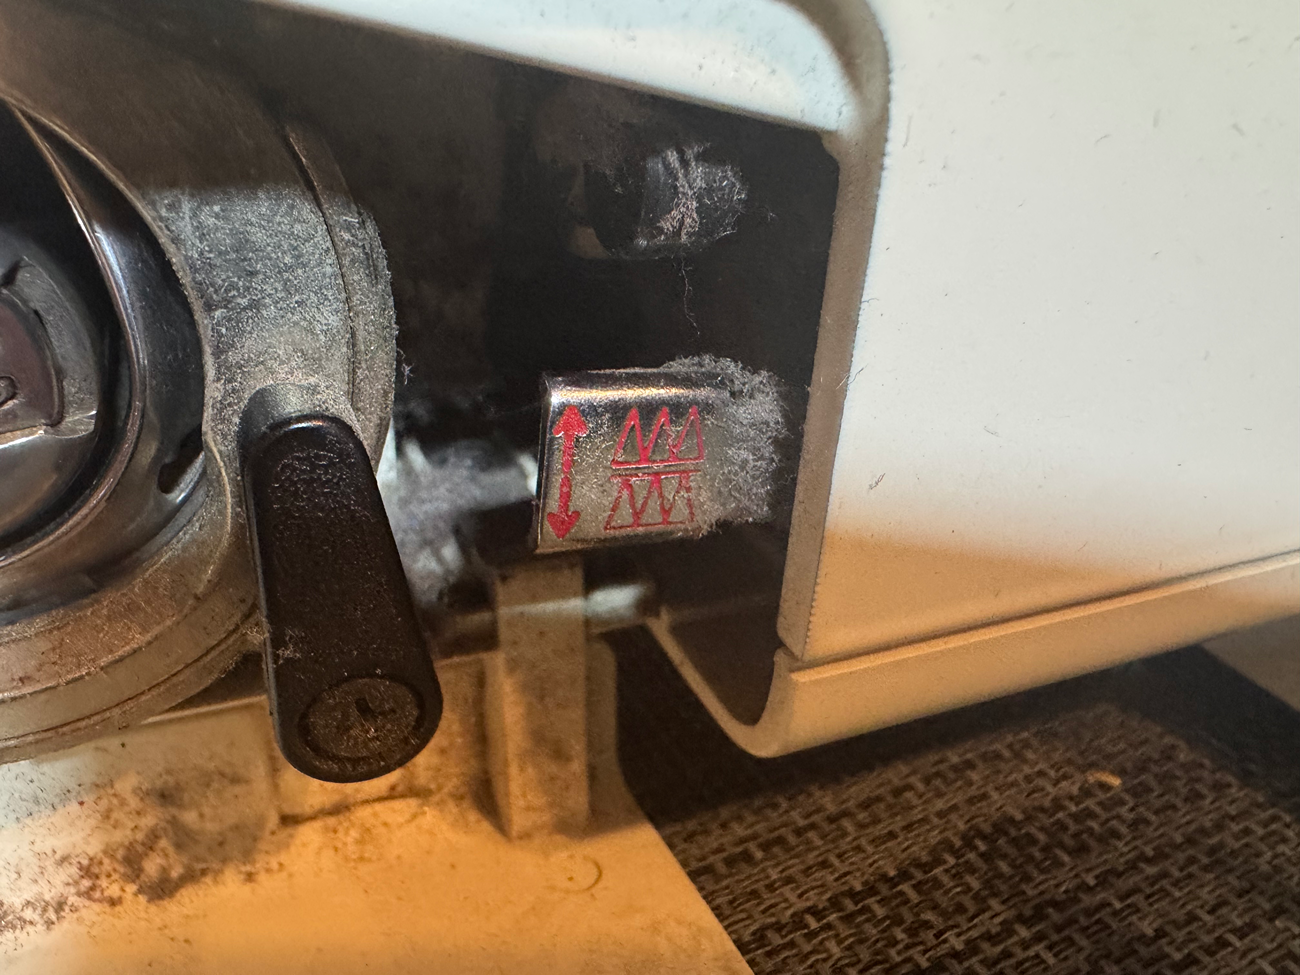
This one is used on edges so they don't unravel.Sometimes seams for knits are done this way.
This one is used on edges so they don't unravel.Sometimes seams for knits are done this way.
Yermo
last year
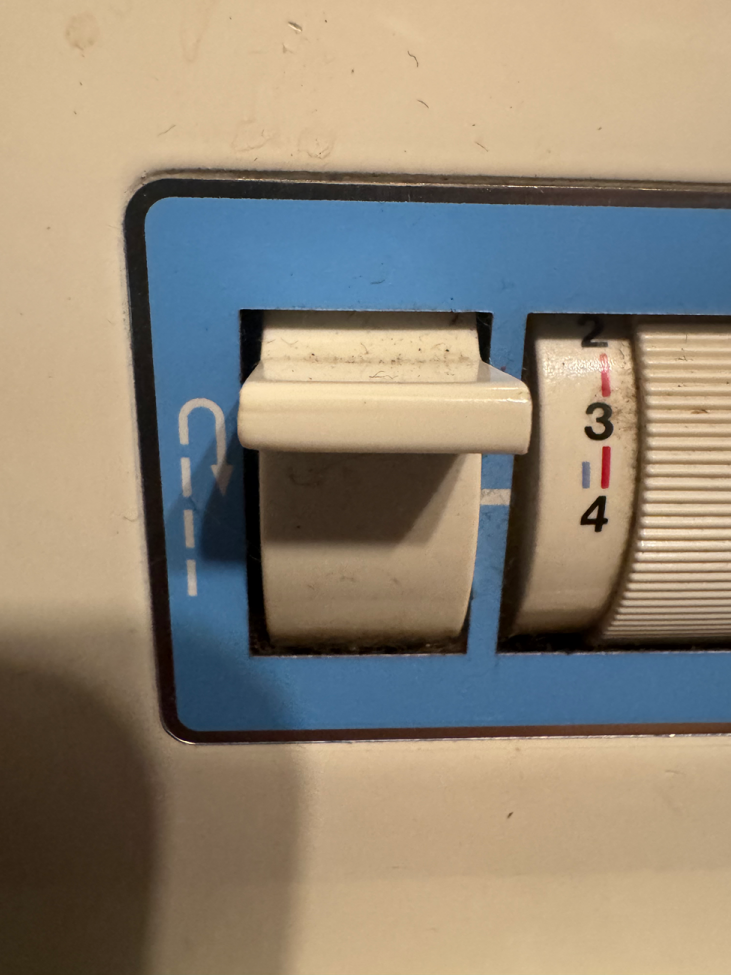
How long the stitch is (blue knob dictates how wide.)
How long the stitch is (blue knob dictates how wide.)
Yermo
last year
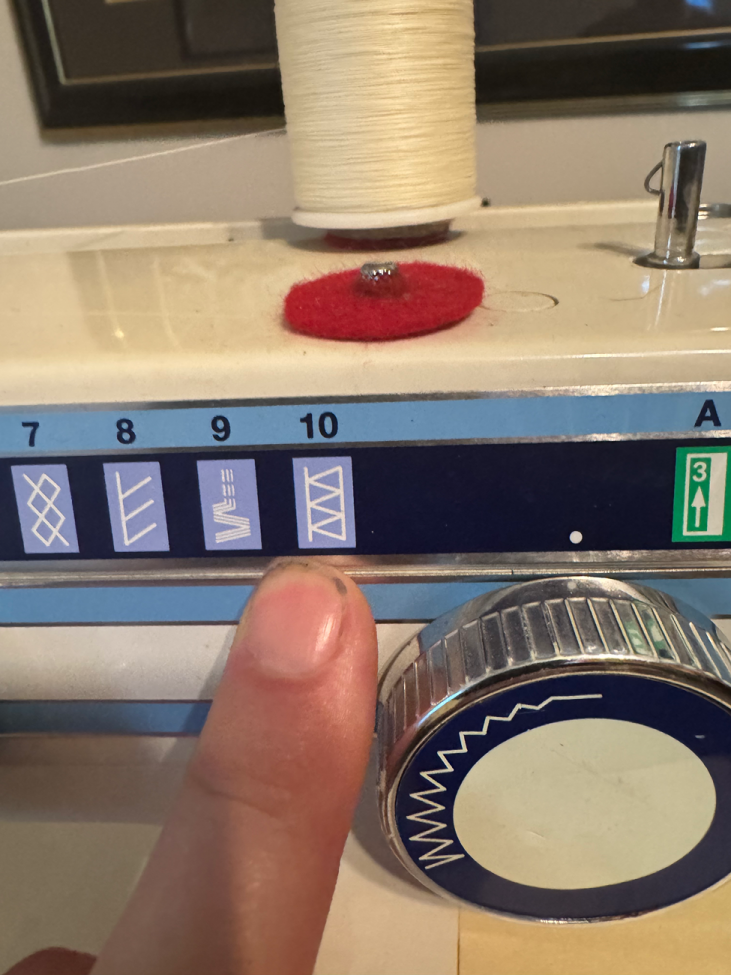
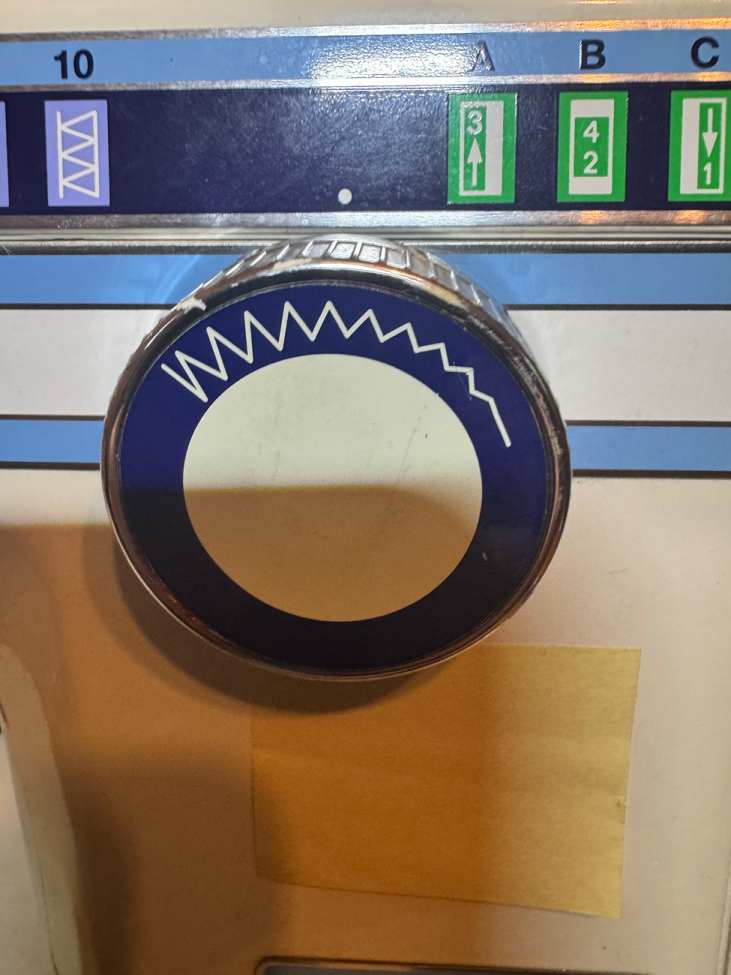
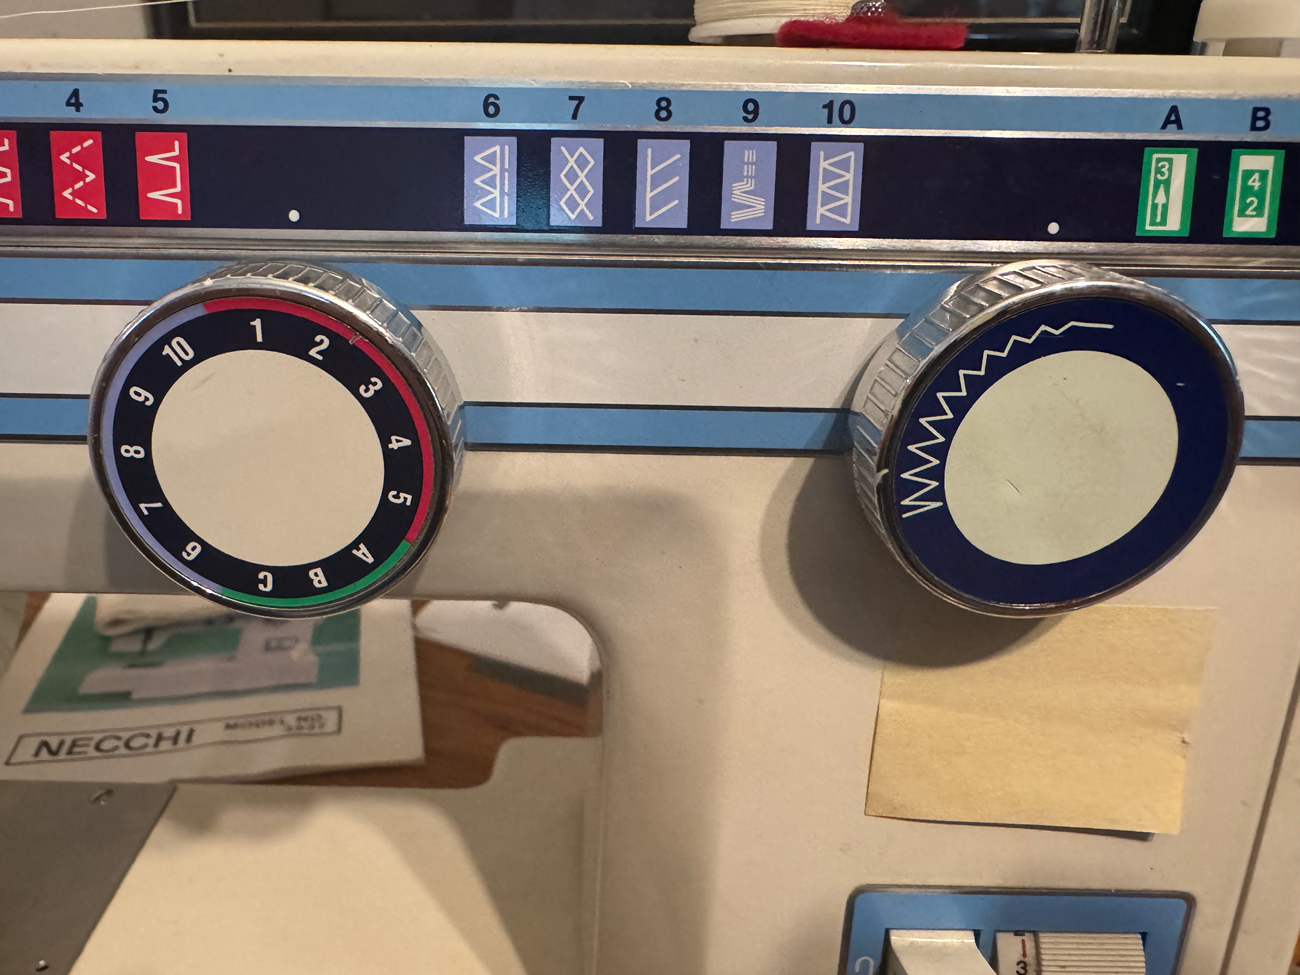
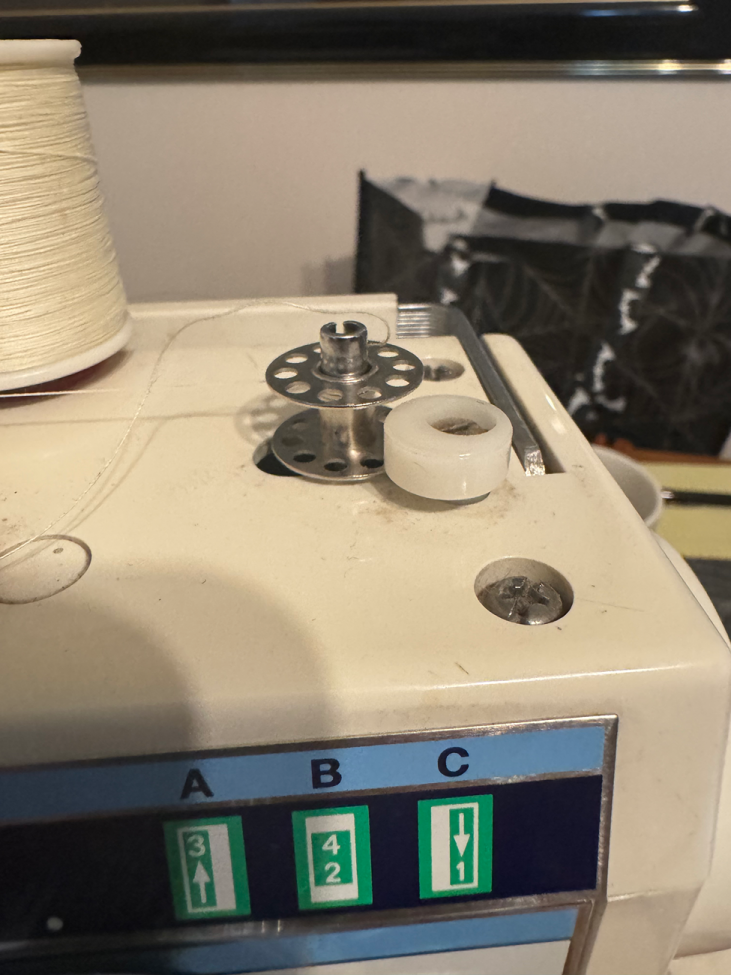
The labels along the top are related to the numbers on the first wheel.
The diagram on the label shows the range of stitch that can be selected on the second wheel. For example if the first wheen is set to 1, it can go from a straight stitch to a zigzag.
The diagram on the label shows the range of stitch that can be selected on the second wheel. For example if the first wheen is set to 1, it can go from a straight stitch to a zigzag.
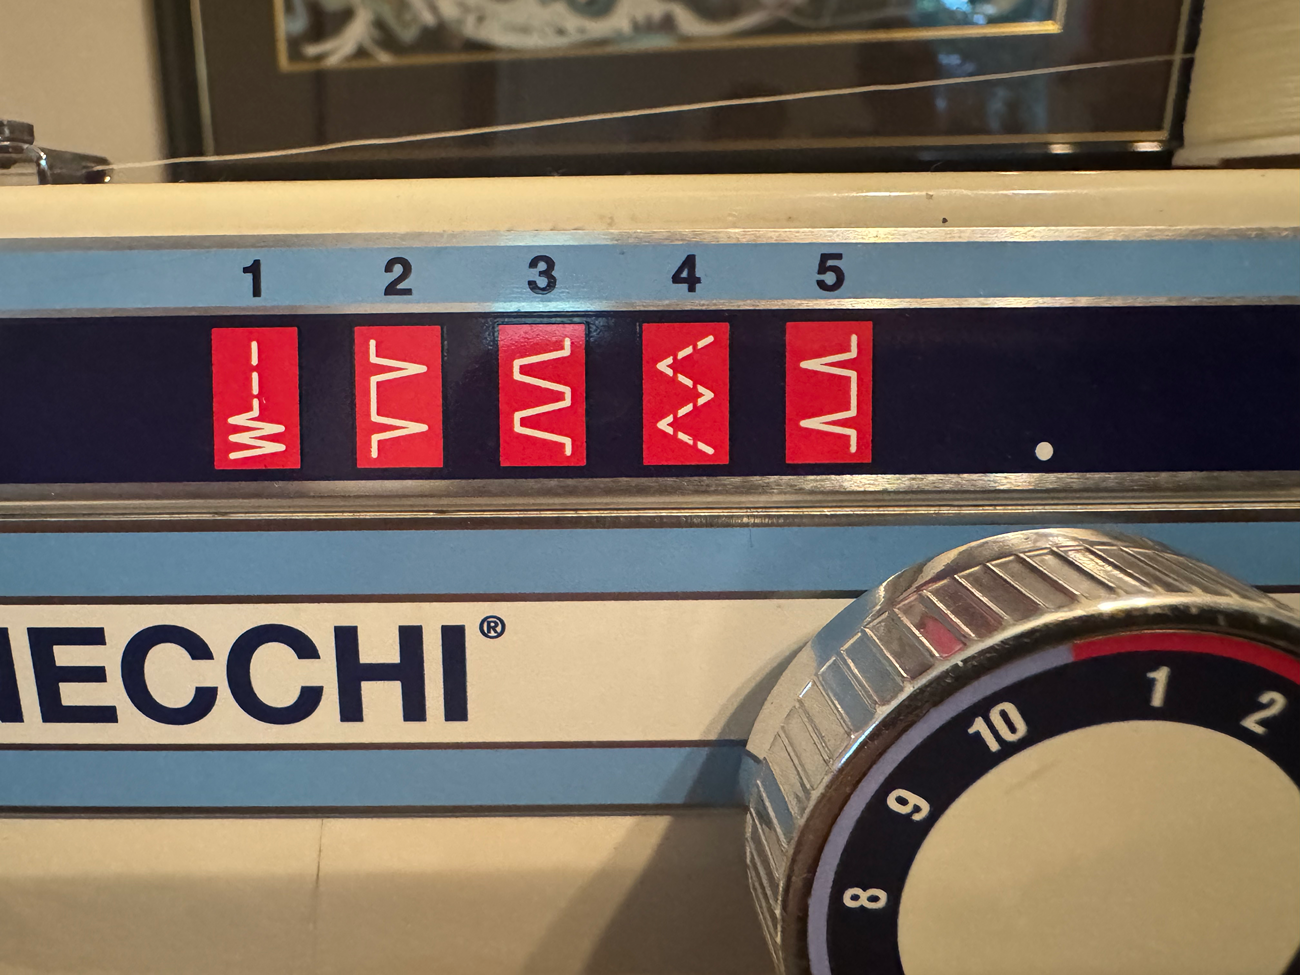
Yermo
last year
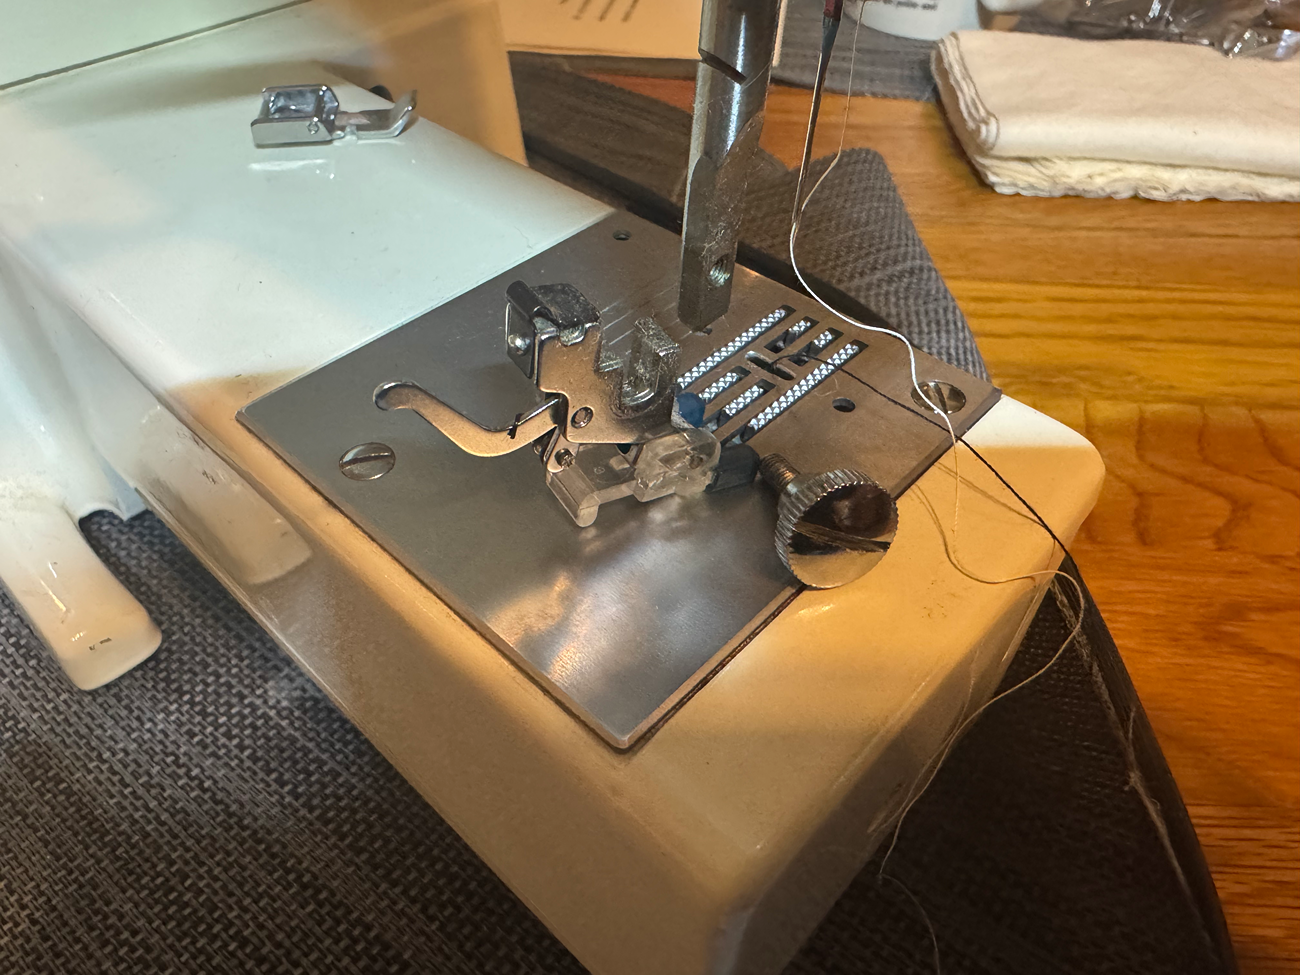
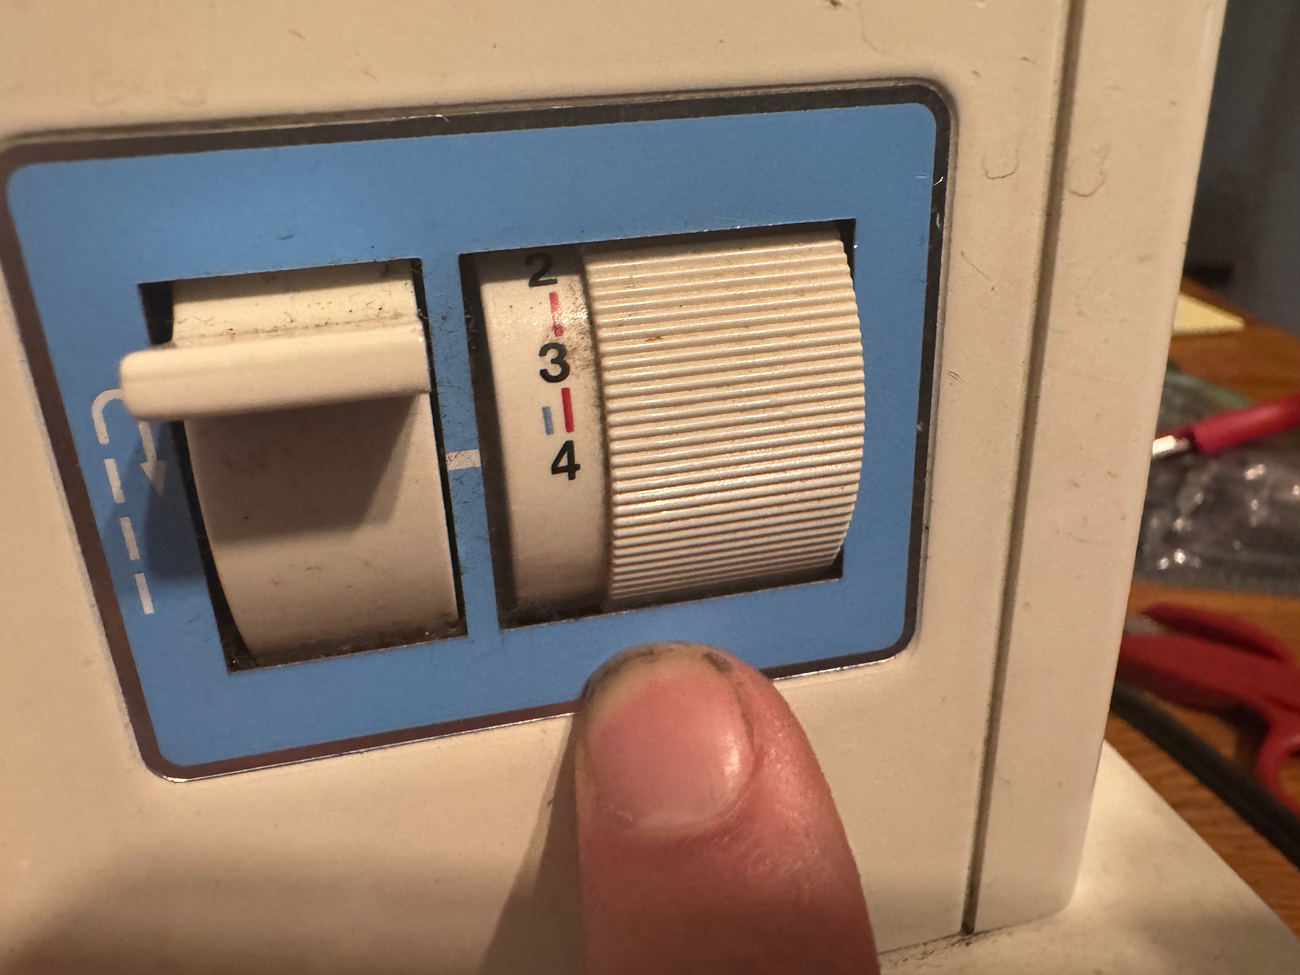
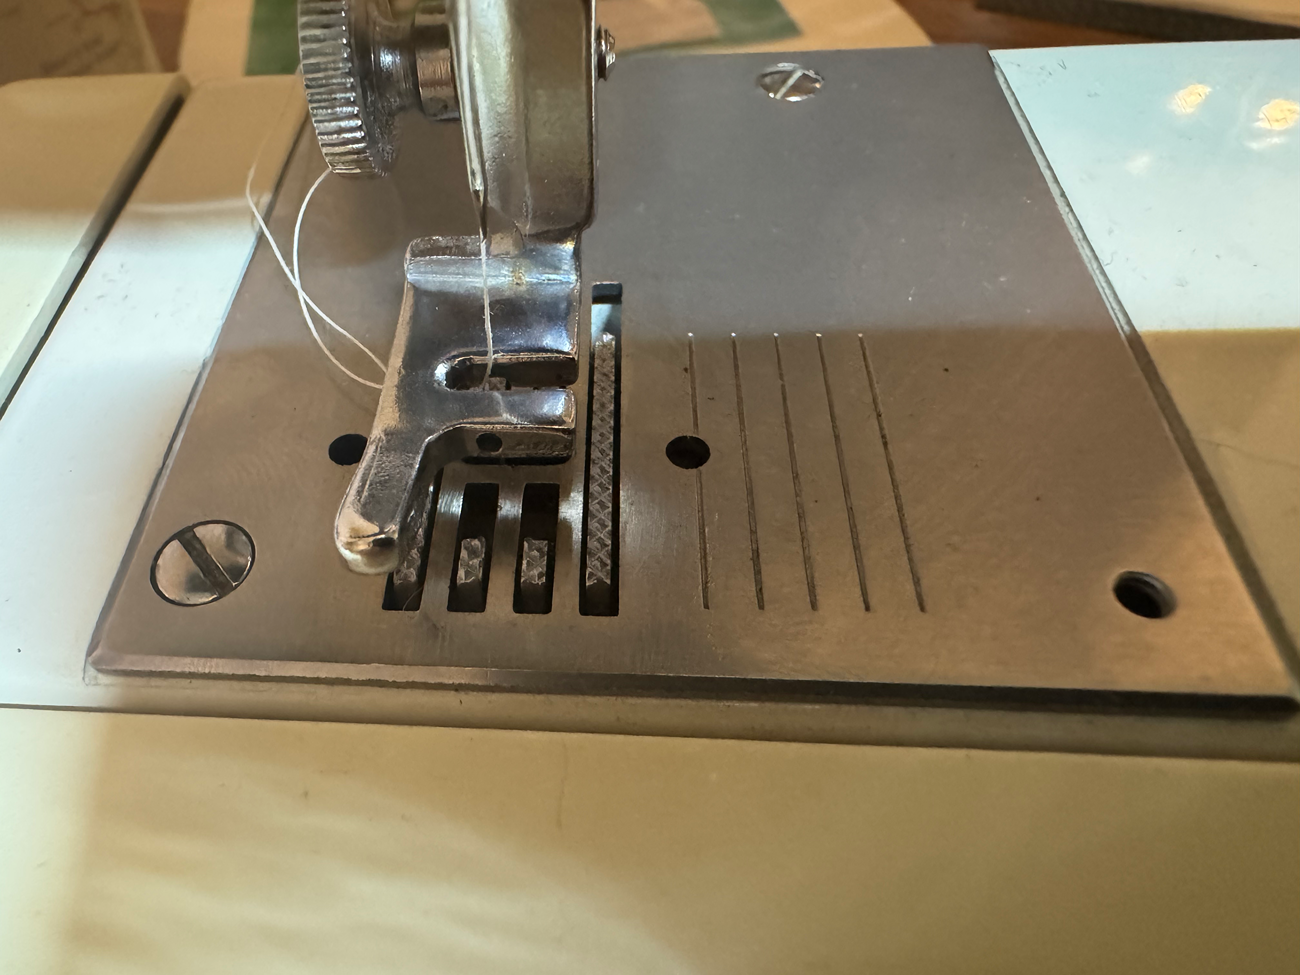
Also used to adjust the teeth but don't use it. Only used for "darning".
Also used to adjust the teeth but don't use it. Only used for "darning".
Yermo
last year
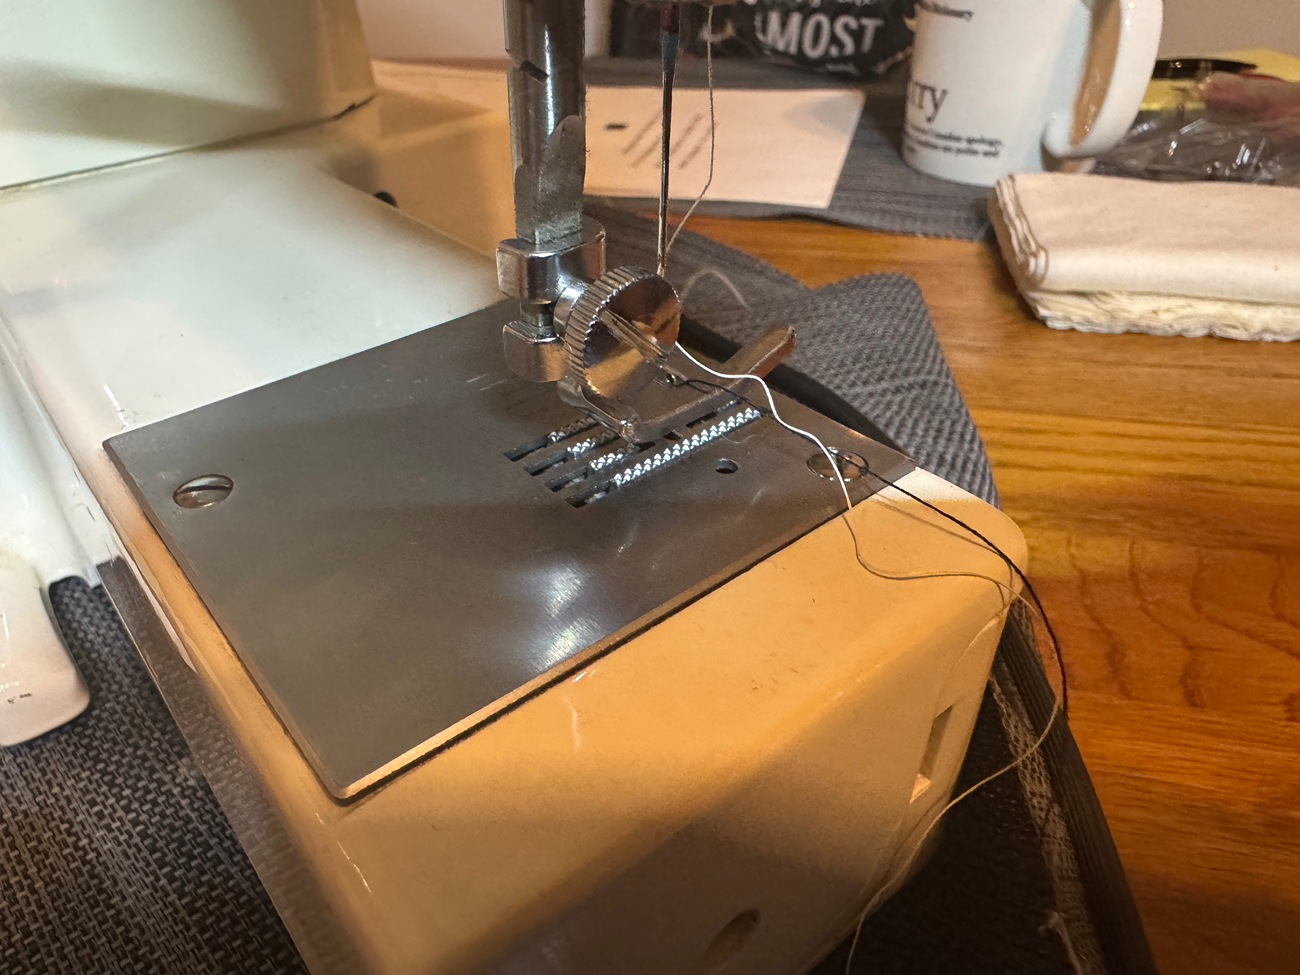
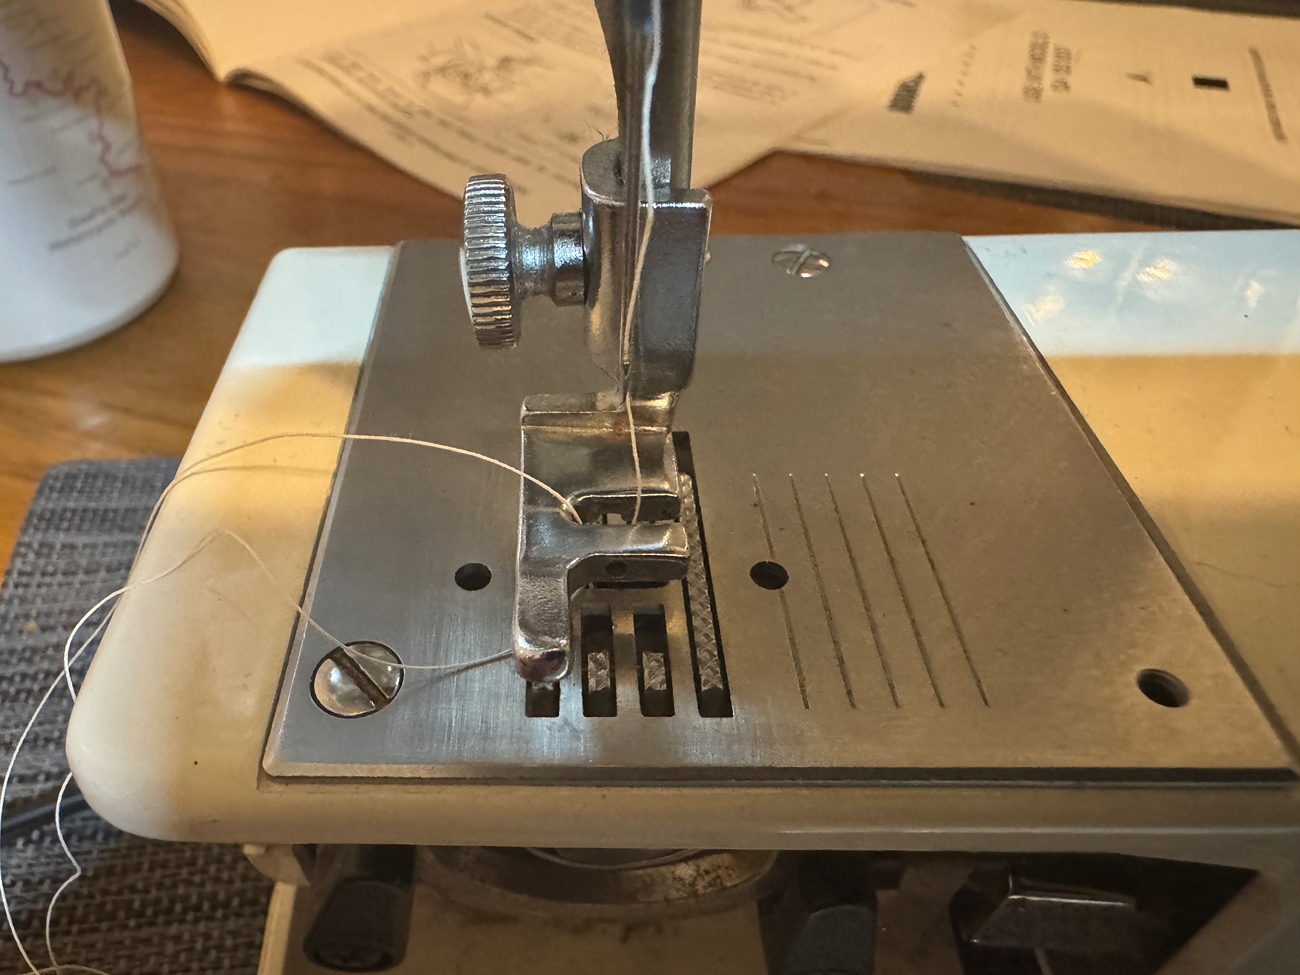
Make certain that both threads go under the foot
Make certain that both threads go under the foot
Yermo
last year
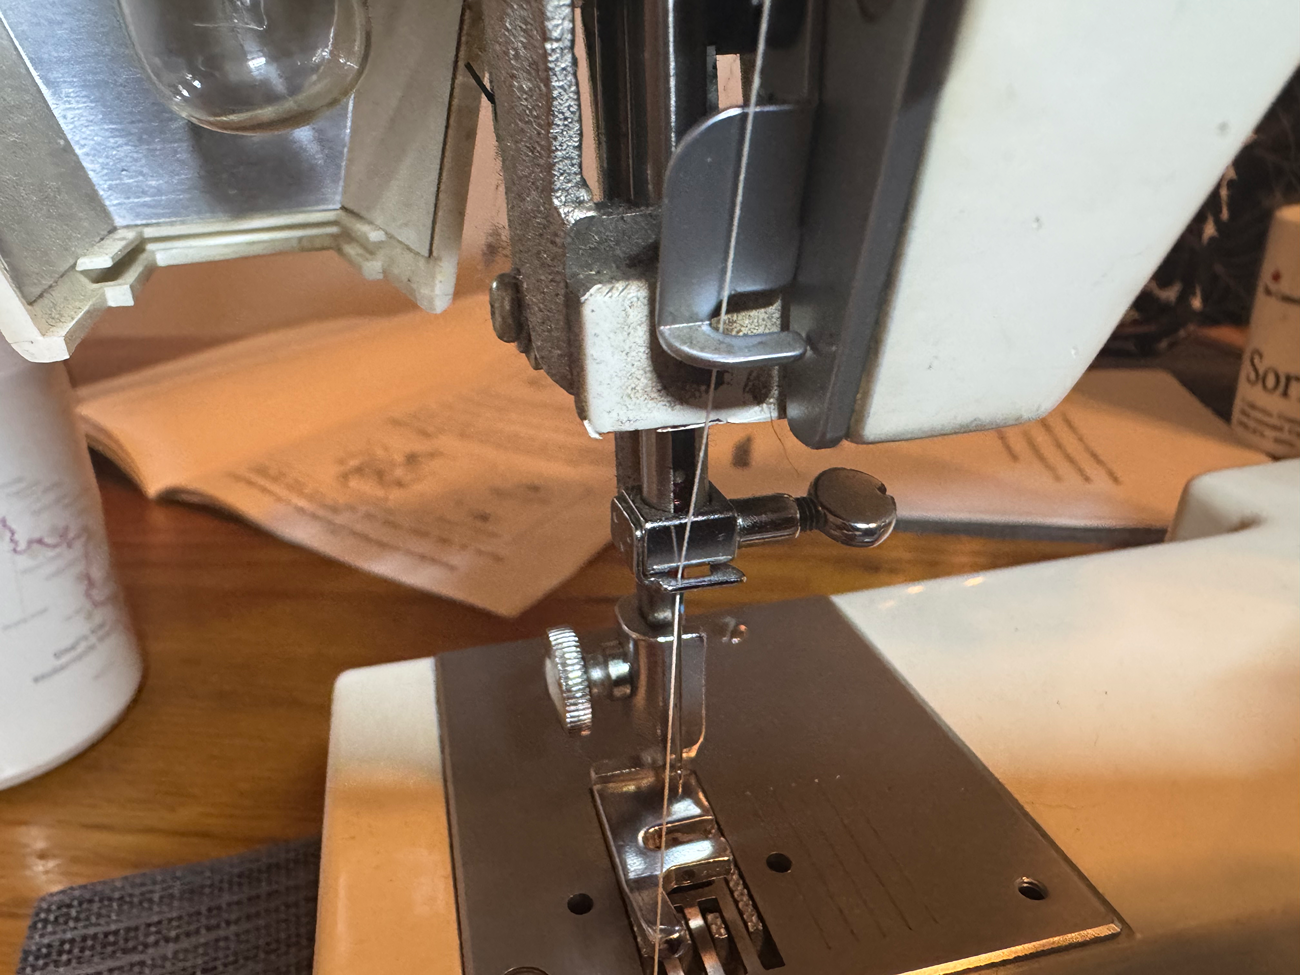
When threading this arm needs to be up. Turn the machine towards the operatoor until it is up.

When threading this arm needs to be up. Turn the machine towards the operatoor until it is up.

Yermo
last year
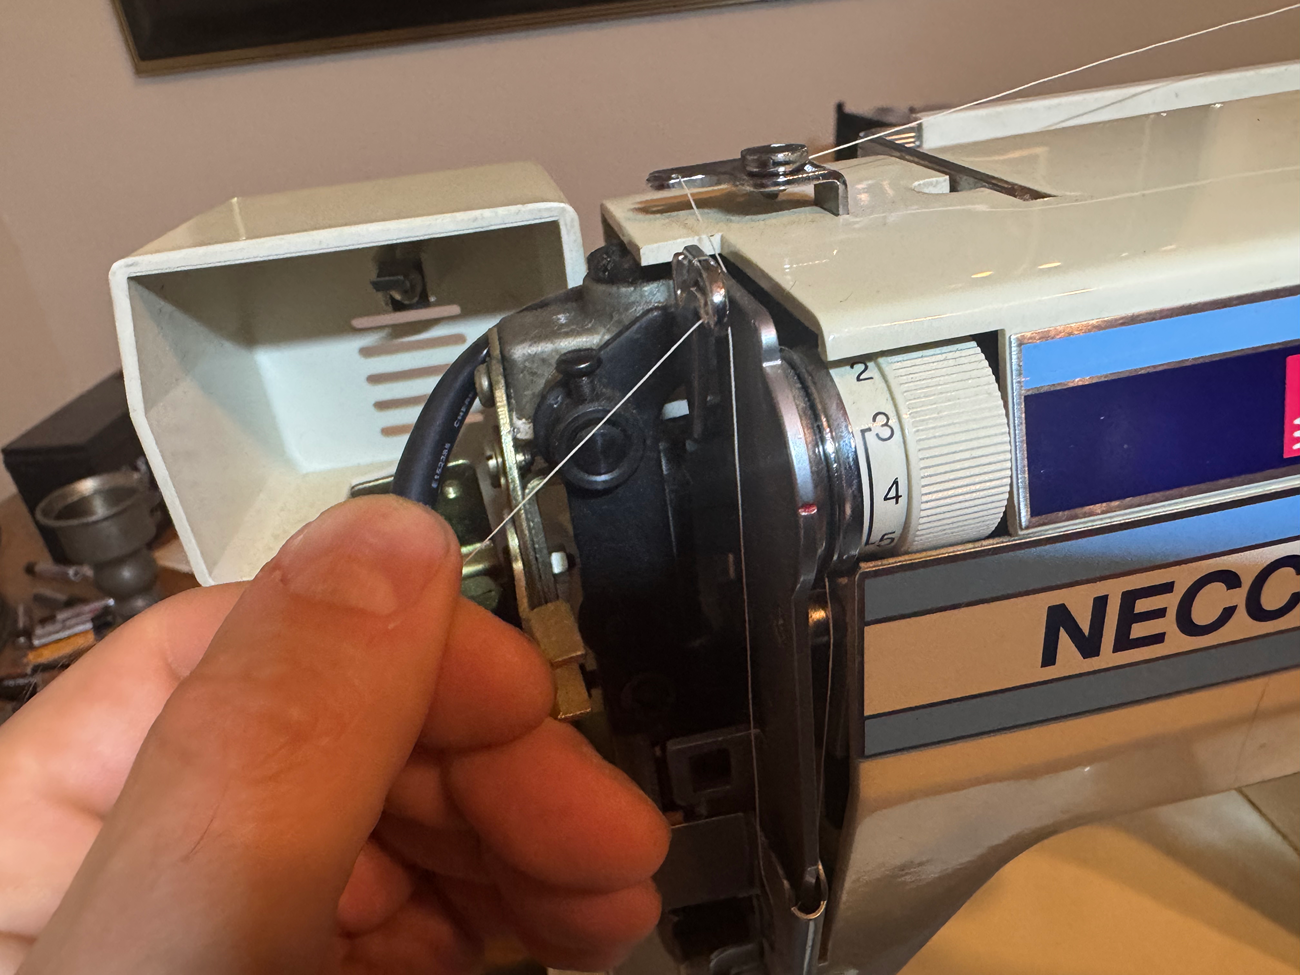
Asnsoon as the thread touches the white olastic piece it's done.
Asnsoon as the thread touches the white olastic piece it's done.
Yermo
last year
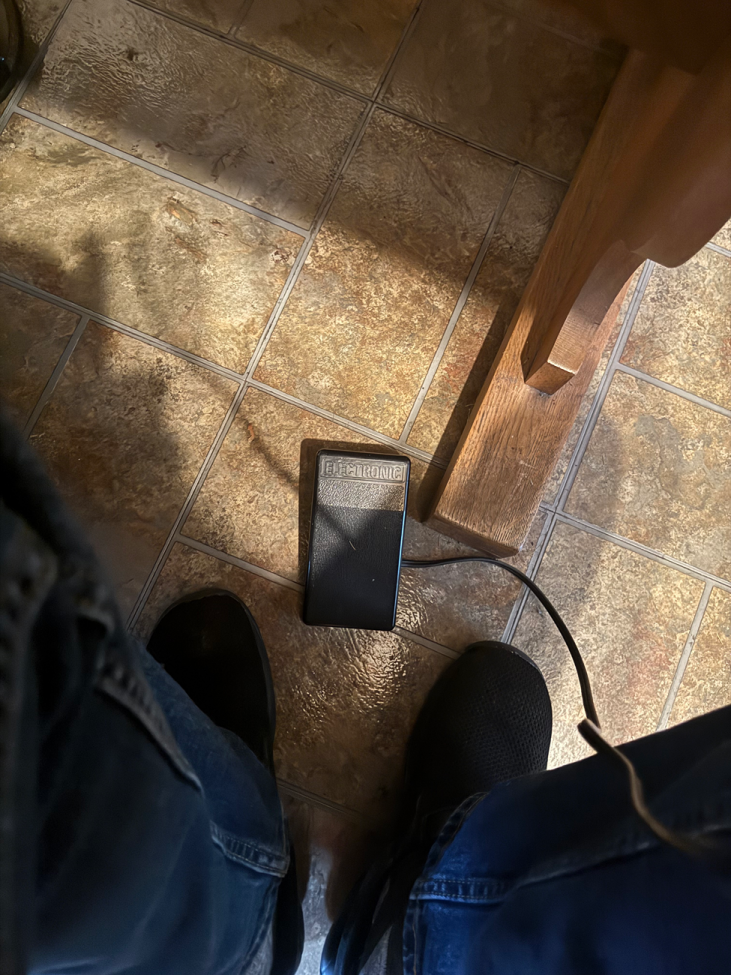
Use the foot oedal to engage the machine to wind the bobbin. Note not to have any thread in the needle because this machine has an issue.
Use the foot oedal to engage the machine to wind the bobbin. Note not to have any thread in the needle because this machine has an issue.
Yermo
last year
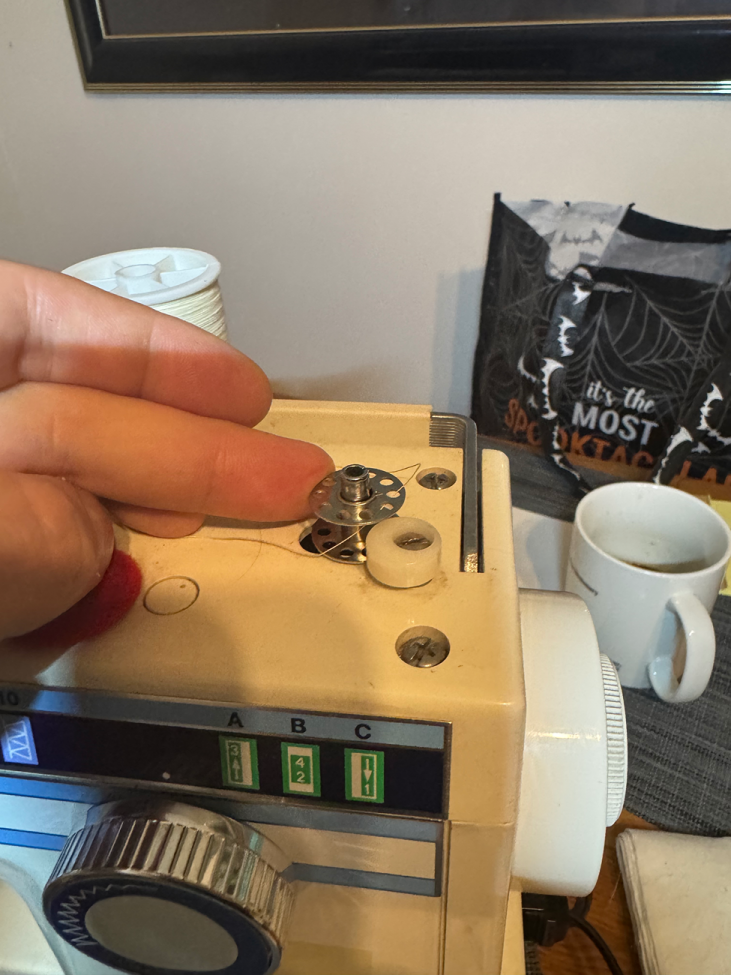
Push the bobbin towards the plastic piece. It snaps into olace.

Push the bobbin towards the plastic piece. It snaps into olace.
Yermo
last year
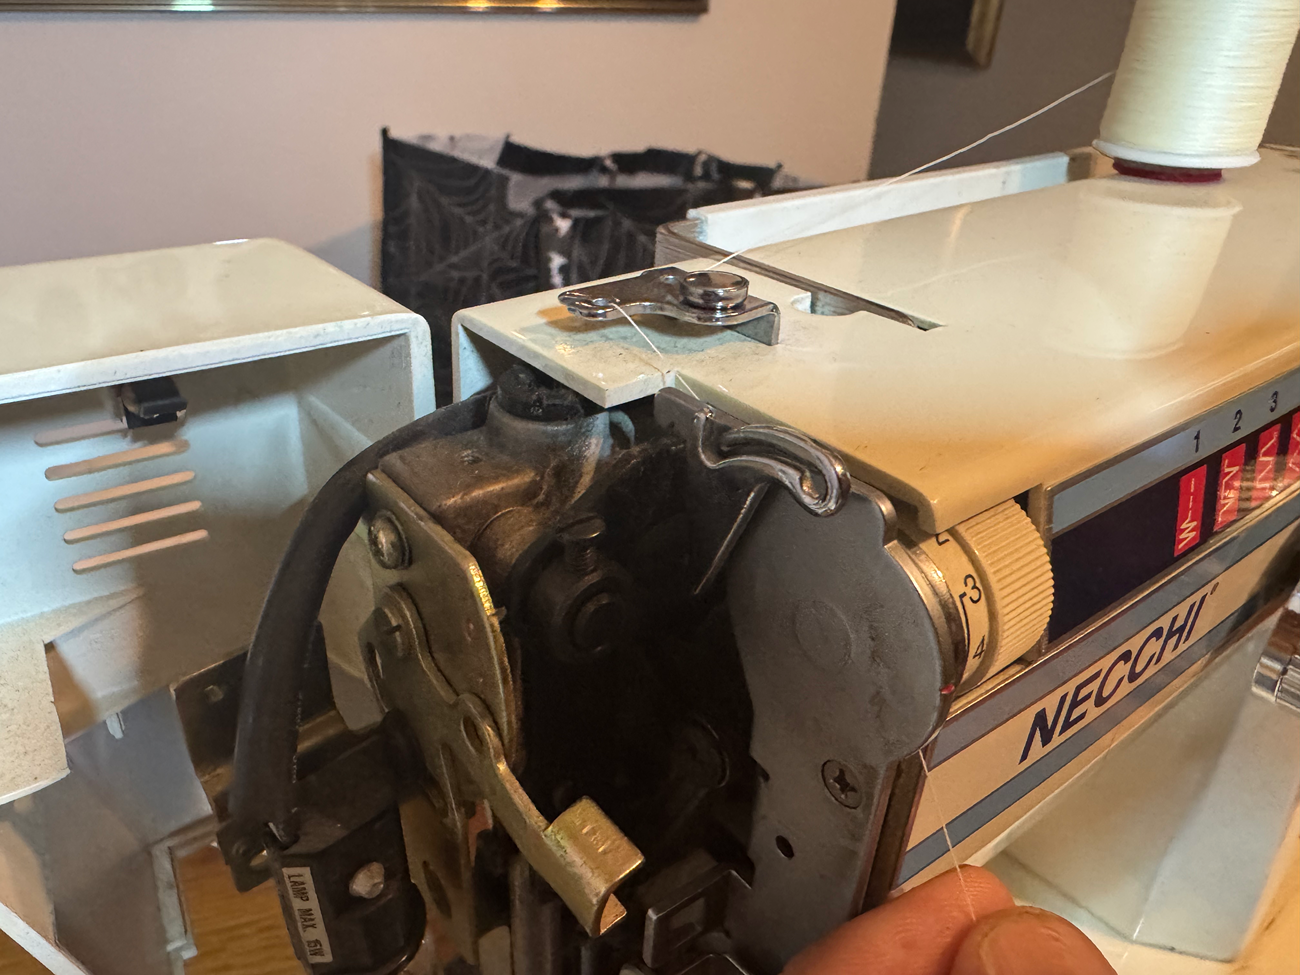
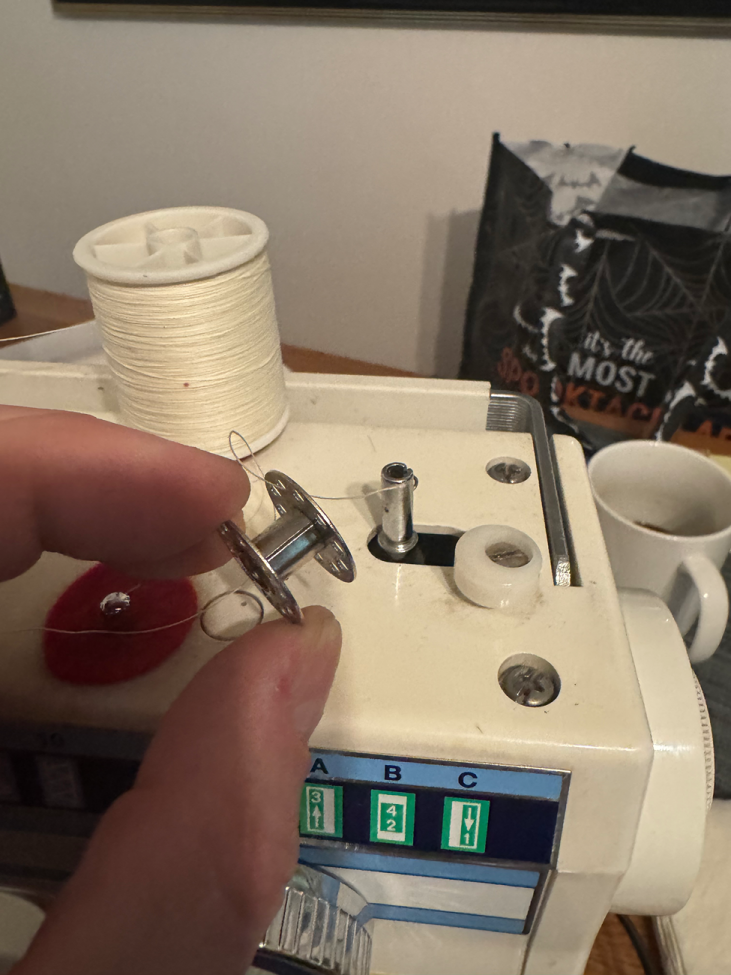
Run the thread through any hole but from the inside and then pull out about three inches
Run the thread through any hole but from the inside and then pull out about three inches
Yermo
last year
When windong a bobbin run the thread around the post and back over the thread, not under.
When windong a bobbin run the thread around the post and back over the thread, not under.