

You can add images to any post whether you are creating the first post in a thread or replying to one.
Images can be included in-line. So you can start typing your post and then at any time decide to include an image. The image will be inserted where the cursor is, so you can, for instance, go back and open up some space between two sentences and insert an image.
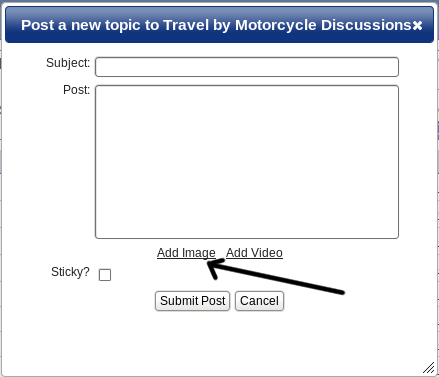
To start the process, click the Add Image link. This will bring up the Add Image Dialog.
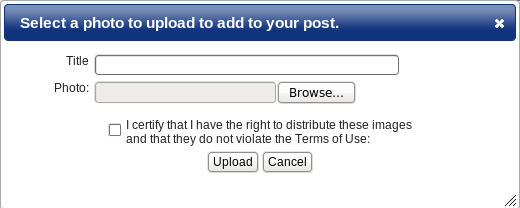
You can include a title to your photo which will be displayed as a caption below it. Click the BROWSE button to select a photo on your computer to upload.
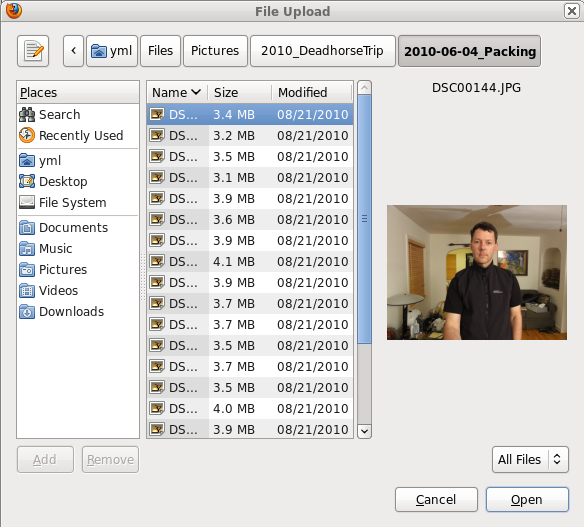
Search for the photo you want to upload. Select it and click OPEN. (I use the FireFox browser. Your dialog may look slighly different if you are using Windows or a Mac.)
Check the little "I certify that I have the right to upload this photo" checkbox. Then click upload.
Depending on the size of the photo it may take a little while to upload. The forum software I wrote will automatically resize the photo and include it inline linked so users can get a full sized view.
When the photo is inserted you'll see a line of text added where the photo will be displayed.
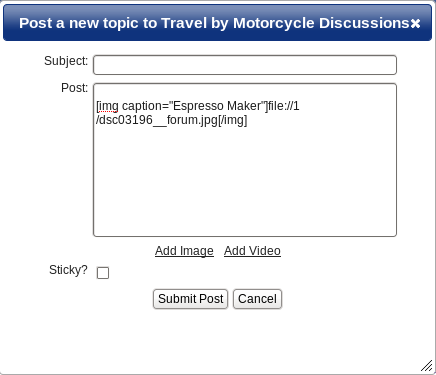
You can delete the line if you want to upload a different photo. There is currently no way to delete the physical file on the server. I'll have to build that at some point. All this software is still very much a work in progress.
Then just press the Submit Post button.